
Exploring the process of breaking in your new Hunting boots is essential for ensuring comfort and performance during outdoor adventures.
Properly breaking in your boots can make all the difference between an enjoyable hunting experience and discomfort in the field. In this guide, we will discuss practical techniques and strategies to help you ease into your new boots seamlessly, allowing you to focus on the thrill of the hunt without the distraction of sore feet.
Let’s dive into the art of breaking in your new “Hunting” boots and set the stage for many successful hunts to come.
Break in Hunting Boots in SIX Simple Steps
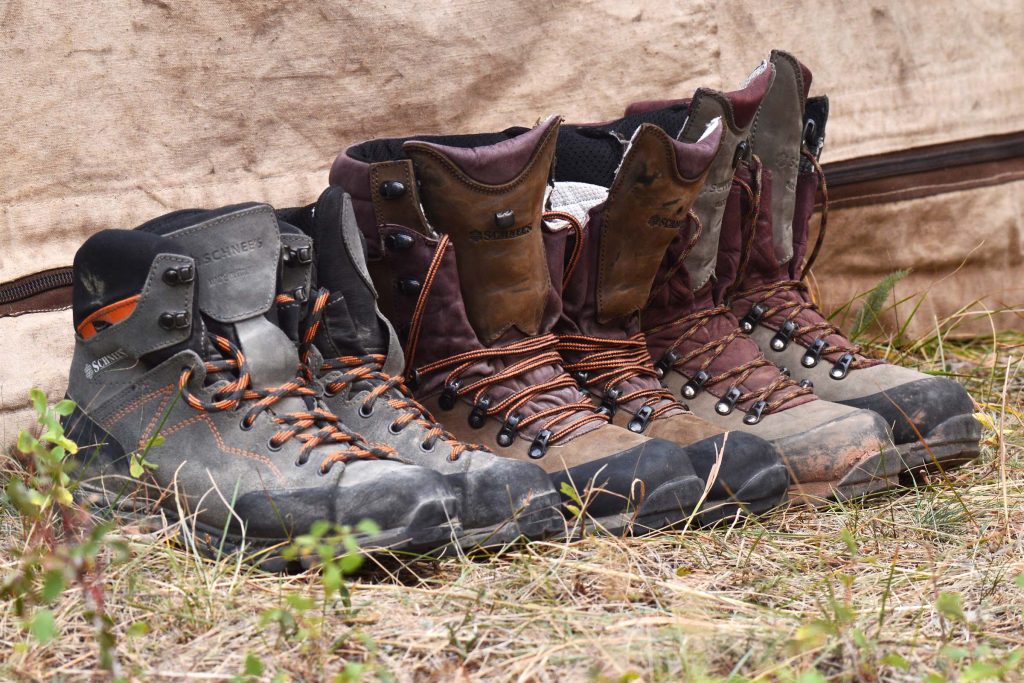
It takes time for boots, no matter how high-quality or well-fitting, to break in and become one with your feet. Only then can they be adequately personalized to match your unique foot form and all its peculiarities. If you want to get the most out of your future trail kilometers, breaking in new boots is a worthwhile investment of time.
To make matters more complicated, various boots call for varying break-in times, and there is no magic number or a specific amount of time it takes to break in boots.
For example, although distinctive lightweight hiking boots may be comfortable from the moment you put them on, additional miles and days of breaking in may be necessary for stiff, tough leather hunting boots.
Keep this in mind when you go boot shopping for your next big hunt. Be sure to give yourself plenty of time to break them in before you go on your quest. In addition to breaking in the boots and shaping them to a custom-like fit, conditioning your feet is just as crucial while breaking boots.
1. Start Slow
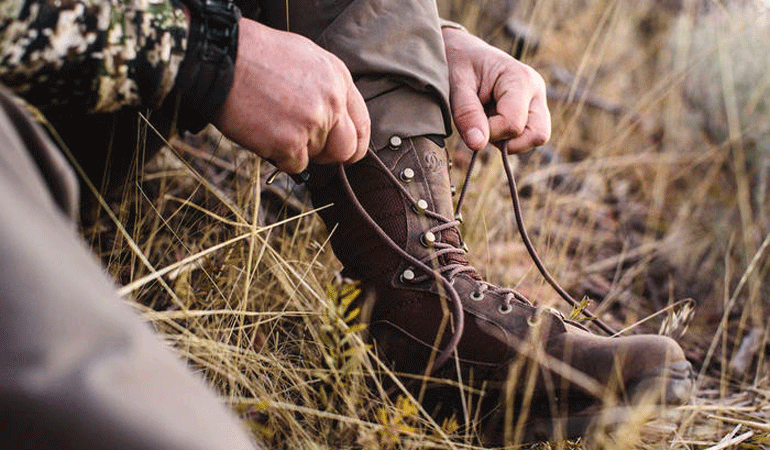
Wear the boots indoors for a few hours daily for a few days (or bring them to work and wear them indoors for a few days of office usage), making sure the laces are knotted tightly but not painfully. Verify that the gussets and tongues are neatly folded and parallel.
The point is not to wear them down to the point where they get dirty or damaged—that would make it impossible to return them if you change your mind about how well they fit.
You should not be alarmed if your new boots feel stiff at first. Wear them all day indoors if you don’t have any pinching, friction, or other problems. That will make breaking in a little faster.
2. Walk outside around your house, the block, and the town in that order
Check that your boots are comfortable at each level before increasing the distance. The goal is to increase the number of steps while maintaining a relatively moderate environment.
Is it still okay? After that, you should:
3. Hit the trail
Where Vibram meets the road, off the pavement, is where the actual breaking-in takes place. During this stage, you should progressively increase your distance. The boots will get more flexible with each day of use and mile walked, while your feet will become more complicated.
Just a touch more for you. It would help if you began challenging yourself and the boots once you’ve broken them in for a few days of everyday use. To the best of your ability, start walking on uneven ground. Remember that the forthcoming season will include uphill, downhill, and sidehill situations, so it’s best to prepare for them as much as possible.
For your initial few attempts over more challenging terrain, it is recommended that you do not carry any weight at all. Packing too much gear into your bag initially won’t help you go anywhere.
Load up your bag gradually throughout many miles. Let me give you some advice. During this break-in phase, if you feel a hot spot developing on your foot, immediately use Leukotape or moleskin. End it. To protect the area around the hot spot, remove your boots and socks and put a piece of moleskin or Leukotape on it.
Always have an additional pair of socks when you notice your feet growing sweaty; hot, sweaty, and damp feet produce friction, increasing the likelihood and frequency of hot spots, particularly on uneven terrain. You and your feet will both appreciate a change of socks halfway through.
4. Pay attention to warning signs
If you neglect little issues, they will quickly escalate into major ones. Altering how your boots are laced might help alleviate pressure points and pinches. Re-lacing your shoes (or removing them briefly and re-putting them on) might alleviate pressure spots.
That’s something to think about when you’re hiking in the wilderness. To prevent minor pain from becoming a significant problem, it’s best to take a little break immediately. Put your feet up, remove your boots, and shake your socks and shoes well. It’s a little joy in life.
5. Another tip: Avoid shortcuts
A lot of people need better advice floating around online. Some people advocate soaking new boots before using them, which involves filling the shoes with water and placing them in a tub so they soak thoroughly. Afterward, you may wear and walk in until they’re dry.
Put that in the “Bad Ideas” folder. Both your feet and the leather of your boots would suffer from this. In your experience, when has it ever been fun to walk with water in your shoes? Very much so. In no world. We will reiterate it once more. It’s a bad idea. Both your boots and your feet will suffer significantly from this.
Additionally, avoid placing direct heat on the shoes. Do not run a hair dryer in them or put them near a heat source. In addition to damaging leather, heat will not hasten the break-in process.
It would help if you spent the necessary time to break in footwear correctly. These are the instructions: Step out in your boots while wearing the right socks and insoles.
6. You’re not done
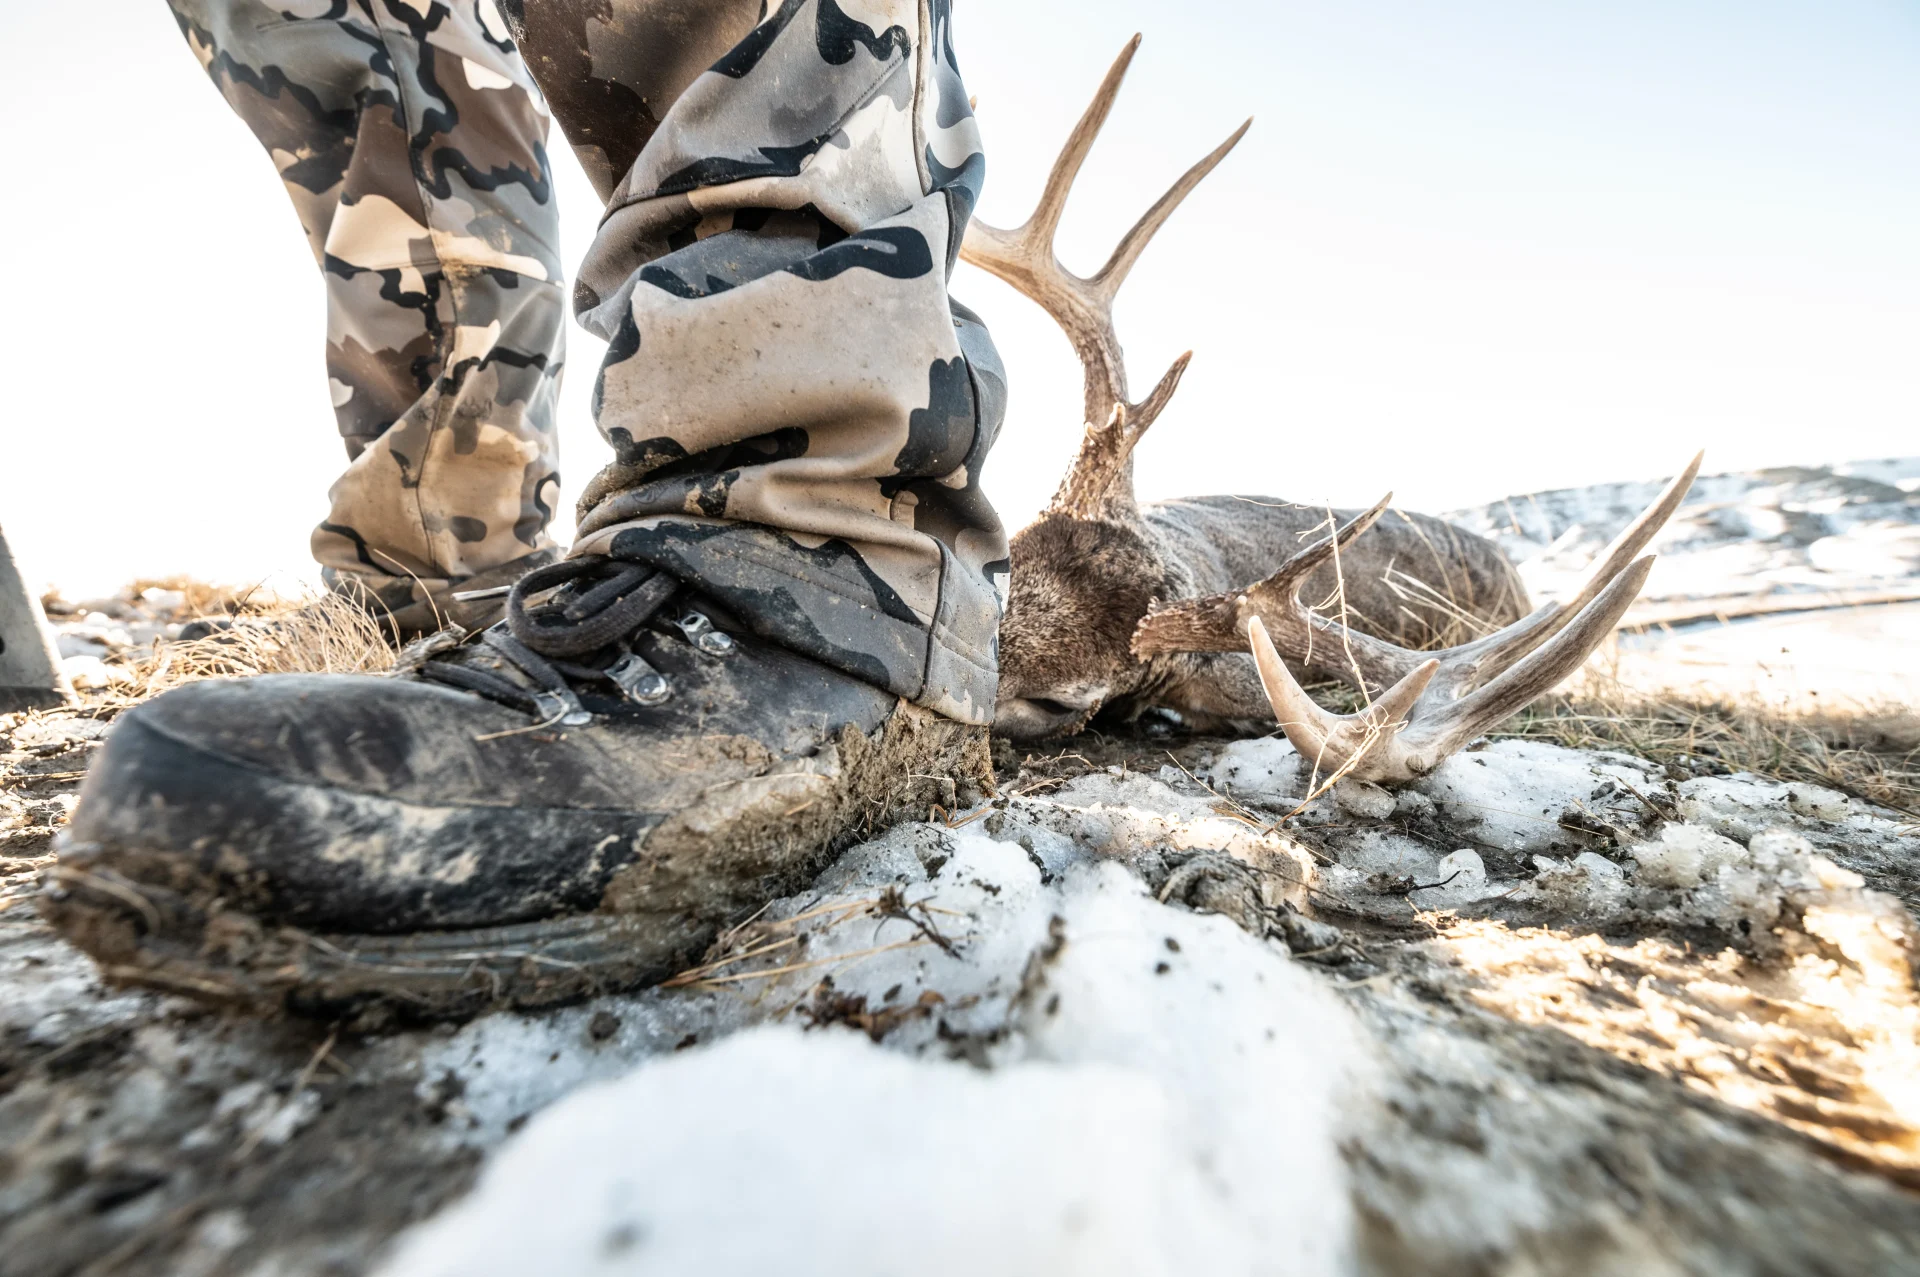
Breaking in your boots and conditioning your feet are prerequisites before setting out on an excursion. Once you’ve found a pair of boots that fits you well and feels well, you can confidently hit the trail. This is only the start of your journey with your beloved footwear.
Plus, they become an essential (and unique) component of your escapades the more you wear them. You can keep going, walking harder than during that break-in time, now a distant memory until the prize you have been after vanishes over that far ridge.
However, you will be relieved that you endured that period of disruption. Regardless of the increased difficulty, increased weight, or increased distance, you can be assured that you and your boots will be prepared to face any challenge that comes your way.
FAQs
- How long does it take to break in hunting boots?
Break-in times vary based on boot type and material. While some lightweight hiking boots might feel comfortable initially, stiffer leather hunting boots may require additional time and miles to mold to your feet.
- What’s the best way to start breaking in new hunting boots?
Wear the boots indoors for a few hours daily, gradually increasing wear time.
- When should I start walking outdoors in my new hunting boots?
After wearing them indoors comfortably, gradually transition to short walks around your home, neighborhood, and eventually on trails. Increase distance and terrain difficulty over time.
- What should I do if I develop hot spots or discomfort while breaking in my boots?
Immediately address hot spots with moleskin or Leukotape to prevent blisters. Take breaks to adjust lacing or relieve pressure points, and always carry extra socks to maintain foot comfort.
- Are there any shortcuts to speeding up the boot-breaking process?
Avoid soaking boots in water or using direct heat sources, as these methods can damage the shoes and your feet. Properly breaking in boots requires patience and gradual wear.
- Is breaking in my hunting boots the final step before hitting the trails?
Breaking in boots and conditioning your feet are essential preparations, but the journey continues. Once your shoes fit well and feel comfortable, they become a trusted companion for future adventures.
Final Words
In the journey of breaking in your new “Hunting” boots, you’ve embarked on a path toward personalized comfort and enhanced performance. With patience and perseverance, you’ve followed steps to mold your shoes to your unique foot form, ensuring a seamless transition from discomfort to confidence on the trail.
As you venture forth, remember that breaking in your boots is just the beginning of a lasting partnership. Now well-fitted and accustomed to your stride, your boots stand ready to accompany you through rugged terrains and thrilling hunts.